










Armor and damage in Rust: protection for different tasks
Armor in Rust does not protect against "any damage," but against specific types: projectiles, melee attacks, bites, explosions, cold, and radiation. One set cannot be the best in the desert, snow, monument, and close-quarters raid simultaneously. The choice begins with the task, combat distance, and the potential loss cost.
What types of protection exist
Item characteristics are divided into Projectile, Melee, Bite, Radiation, Cold, and Explosion. High bullet protection does not guarantee warmth, and a radiation suit does not necessarily outperform a metal set in direct gunfights.
Look at the whole set, not just one item. Items occupy clothing and armor slots, so some combinations are incompatible. Sometimes a lightweight element allows adding two more layers, providing a more suitable result overall.
How the game applies damage
Weapons deal base damage, then factors like hit location, distance, ammo type, and protection of the corresponding body part are taken into account. Headshots are usually more dangerous, so a helmet cannot be considered a decorative addition. The exact final number depends on the current balance.
Do not transfer a table from an old guide without verification. A new patch may change weapons or items. The roles of firearms are described in the Rust weapons guide, and data freshness is verified through the update tracker.
Head, chest, and legs
Protection should cover likely hit zones. A helmet reduces the risk of losing to a precise shot instantly, a chest plate helps in exchanges at medium range, and leg elements are important when part of the body is visible due to low cover. A full set costs more but provides predictability.
Do not wear the best chest plate with an empty head. A cheap alternative is better than none. Before heading out, open the equipment screen and check the summary stats, rather than relying on memory.
Cloth clothing at the start
Burlap, shirts, pants, gloves, and shoes provide basic layers and protect better from weather than a naked character. They are available after gathering cloth and are suitable for initial routes. Losing such a set does not halt progression.
Create several identical sets and spread them near bags. Cloth is also needed for healing and bows, so do not spend the entire supply on expensive clothing before securing a base. The starting sequence is explained in the Rust beginner guide.
Wooden armor
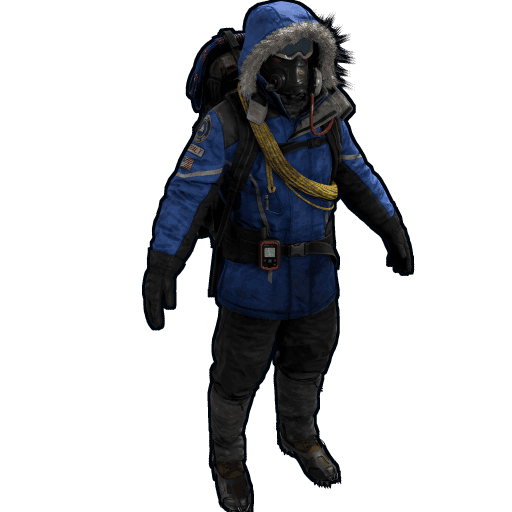
Wooden elements reinforce early protection and are crafted from readily available resources. They are more noticeable, can affect comfort, and occupy slots, but are suitable for a player with a bow who has not yet obtained metal and sewing kits.
Use wood as a stepping stone, not as a wipe goal. If the set hinders temperature or movement in the chosen area, replace part of it with regular clothing. It's better to survive the cold than have an extra percentage against a shot that hasn't happened yet.
Bone armor
Bone turns into available protective elements and weapons. Such a set is useful for hunting and primitive skirmishes but may be inconvenient in terms of slots. Its value depends on the number of animals and bodies along the route.
Do not linger for a full bone set if road sign or good cloth layers are already available. Compare protection and repair cost. Not every found item must be included in the main set.
Hazmat Suit
The Hazmat Suit provides 30% protection against projectiles, melee, and explosions, as well as 50% against radiation, cold, and bites. It occupies the entire clothing set, so regular layers cannot be added underneath. The suit is convenient as a ready universal item for monuments.
The Hazmat Suit is easy to put on and replace quickly, but it is not equivalent to heavy combat armor. In open gunfights, metal elements provide better protection. Before red cards and dangerous monuments, check the requirements in the Rust red card guide.
Road sign: mid-tier progression
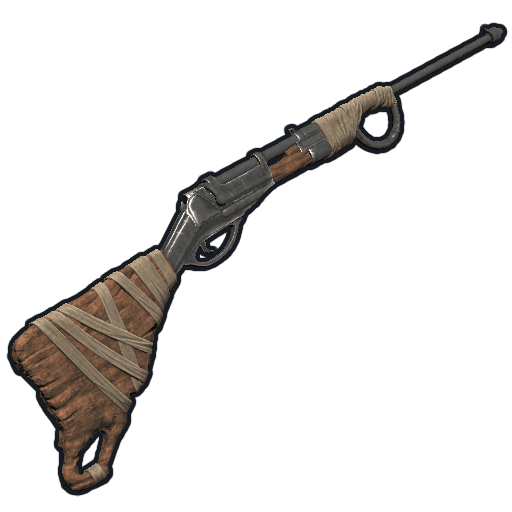
The jacket and kilt made of road signs provide affordable protection against projectiles and melee. The Road Sign Jacket offers 20% Projectile protection but has a significant negative cold value. This makes the set strong in combat and weak for a snowy walk without suitable layers.
Add hoodies, pants, gloves, and shoes if slots allow. Check the overall temperature. Road sign is good for monuments and raids when a group can produce sewing kits and signs.
Coffee Can Helmet
The helmet made from a can is a common step between primitive and metal head protection. It pairs well with road sign and allows for assembling a mid-level combat set. It is sensible to produce such a set in series.
Store helmets together with chest plates and ammo. After death, a player should grab ready equipment instead of searching through three containers. If resources are scarce, give the best helmet to a long-range shooter.
Metal Facemask and Chest Plate
The Metal Facemask belongs to the top tier of head protection: 50% against projectiles and explosions, 70% against melee, but with a negative cold value. It requires HQM, leather, sewing kits, and a third workbench to craft.
The Metal Chest Plate complements the set for serious gunfights. Do not venture out with a single set without weapons, healing, and an ally. The price of armor is justified when it protects a valuable task: a red monument, raid, or defense.
Heavy Plate Armor
Heavy Plate provides powerful protection but limits visibility or mobility depending on the element. Such a set is suitable for special roles: holding a narrow passage, protecting a raid position, or working under team support.
Do not use heavy armor as a universal set for long-distance travel. A slow player becomes an easy target in the open. Prepare transport, healing, and teammates in advance, controlling the flanks.
Cold protection
The snowy biome deals damage through temperature, especially at night and when wet. A jacket provides high cold protection, while metal and road sign elements can worsen the indicator. Assemble a set based on the actual weather.
Take food, a campfire, or a path indoors. Do not stand wet in the cold. For a short gunfight near the base, a heavy set may be justified; for extended farming, warm clothing is often more important than maximum Projectile protection.
Radiation protection
Radiation is encountered in monuments and specific zones. The required level depends on the route and may change. The Hazmat suit provides a clear ready indicator, while a clothing set gathers protection from multiple items.
Monitor the indicator and do not go deeper if the dose is rising rapidly. Keep water and healing items, but do not rely on them to replace equipment. Routes for green and blue card help select protection in advance.
Protection against animals and melee
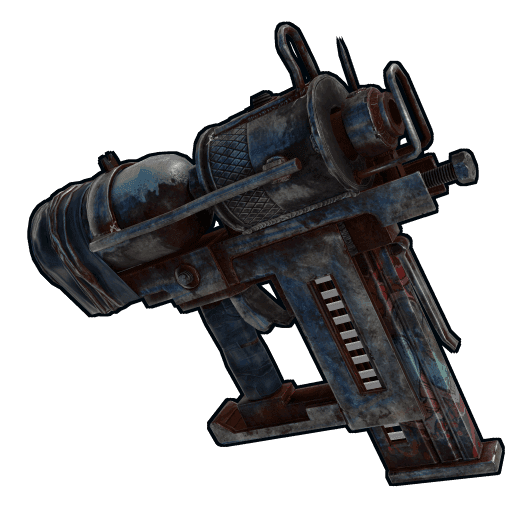
Bite affects animal damage, Melee - melee weapon strikes. At the start of a wipe, these threats are encountered more often than bullets. A cheap set, a bow, and attentiveness provide more chances to make it home.
Do not engage in combat with an animal in an open field with low health. Use height, structures, or distance. After a kill, gather cloth, leather, and bone - they support the next set.
Explosive damage
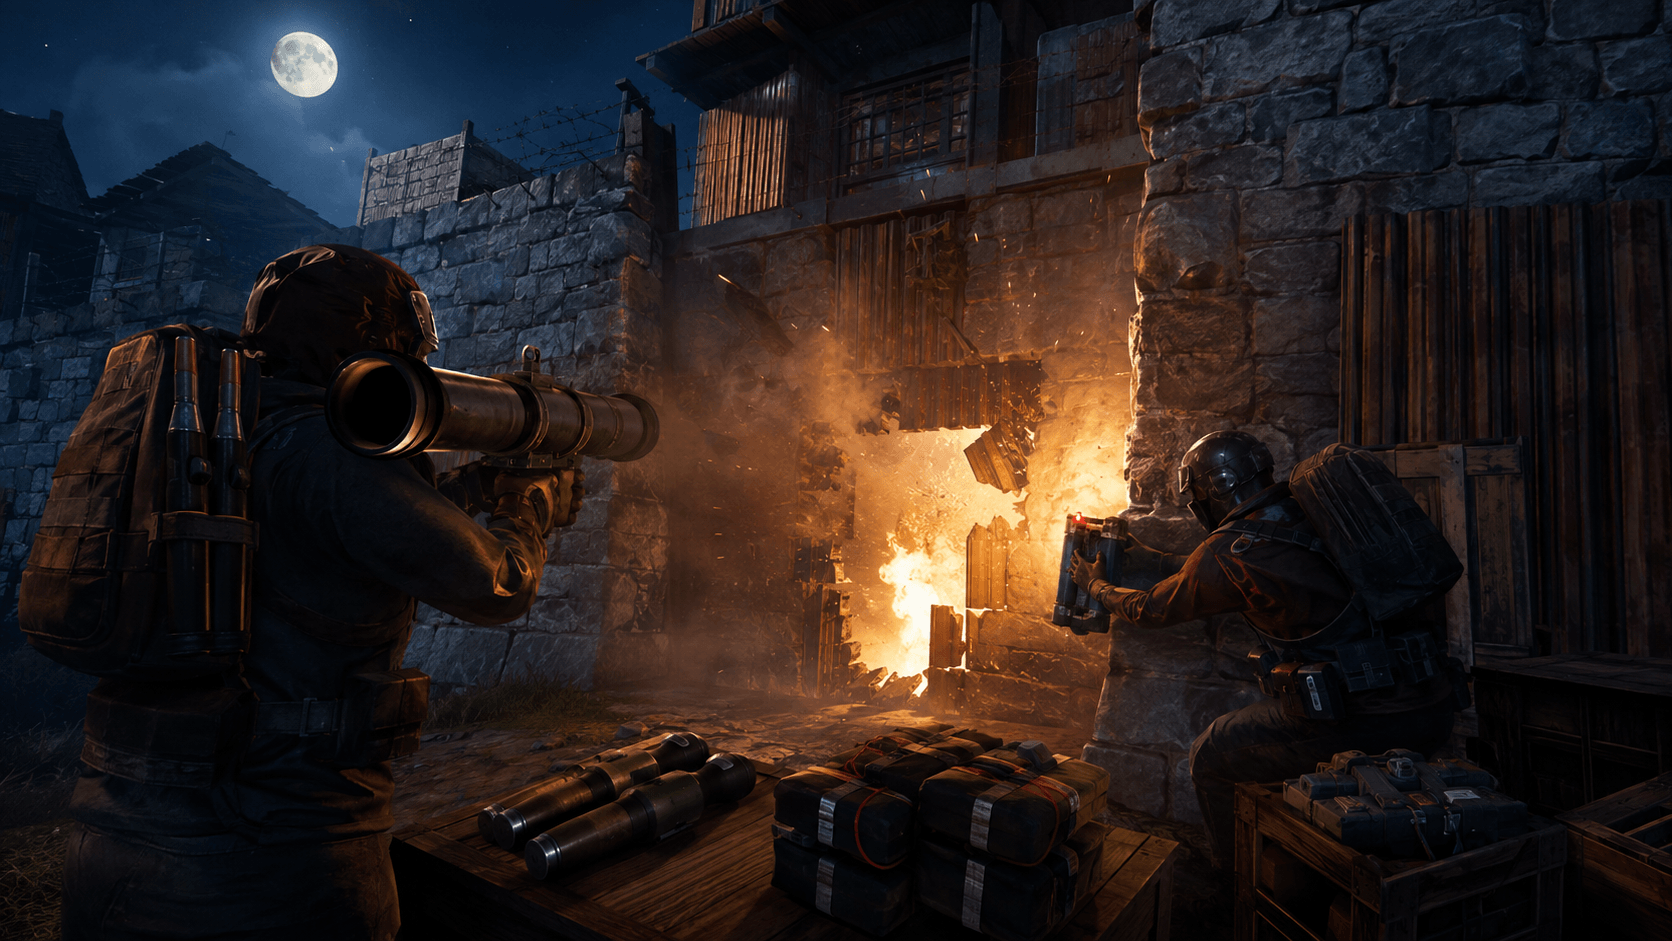
Explosion is important near grenades, rockets, and raid tools. A metal mask protects better from explosions than light clothing, but no armor makes standing at the impact point safe. Distance and cover remain crucial.
During a raid, do not all stand by one wall. Distribute players and healing items. Attack and counter-raid practices are described in the Rust raiding guide.
Armor for farming
A farmer needs speed, temperature regulation, and repair cost consideration. Light clothing, a mid-level helmet, and a simple chest plate are often more rational than full metal. The main protection comes from the route, cover, and regular resource returns.
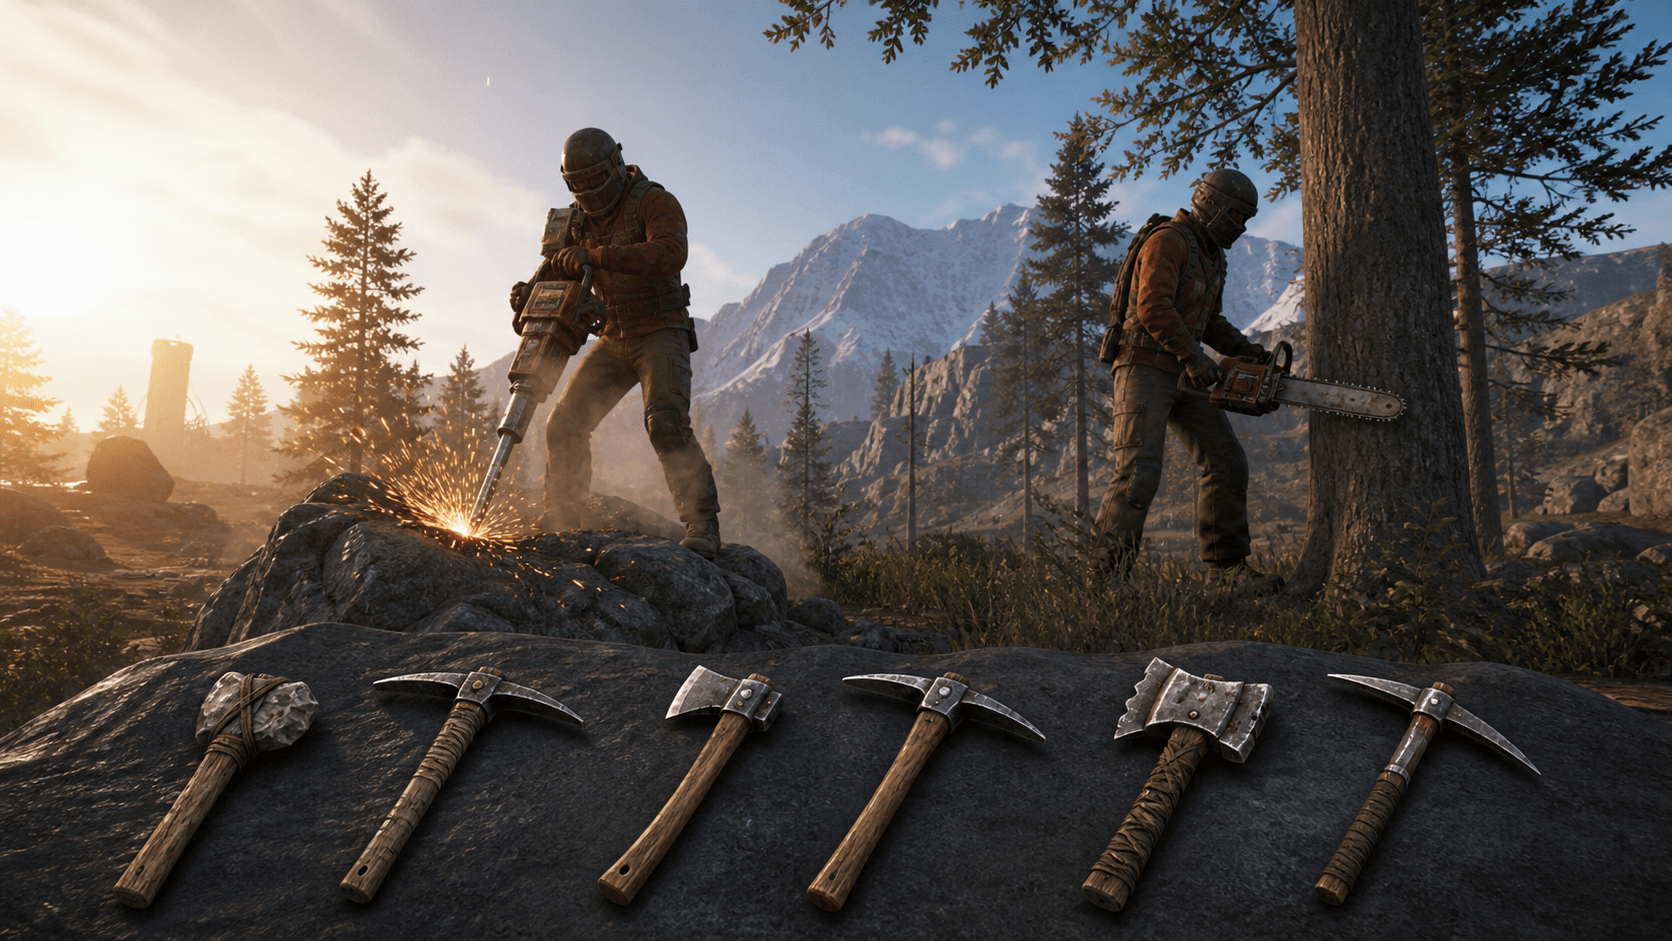
The noise of a jackhammer or chainsaw attracts opponents, so leave free slots and have an escape plan. Tool selection is covered in the Rust tools guide.
Armor for monuments
First, meet the radiation and temperature requirements, then add protection against NPCs and players. In closed corridors, head protection is important, while on long lines, a full combat set is crucial. Take healing supplies and check the condition of items.
Do not wear a rare set on the first scouting run. Complete the route inexpensively, find the exit, and only then increase the gear value.
Armor for base defense
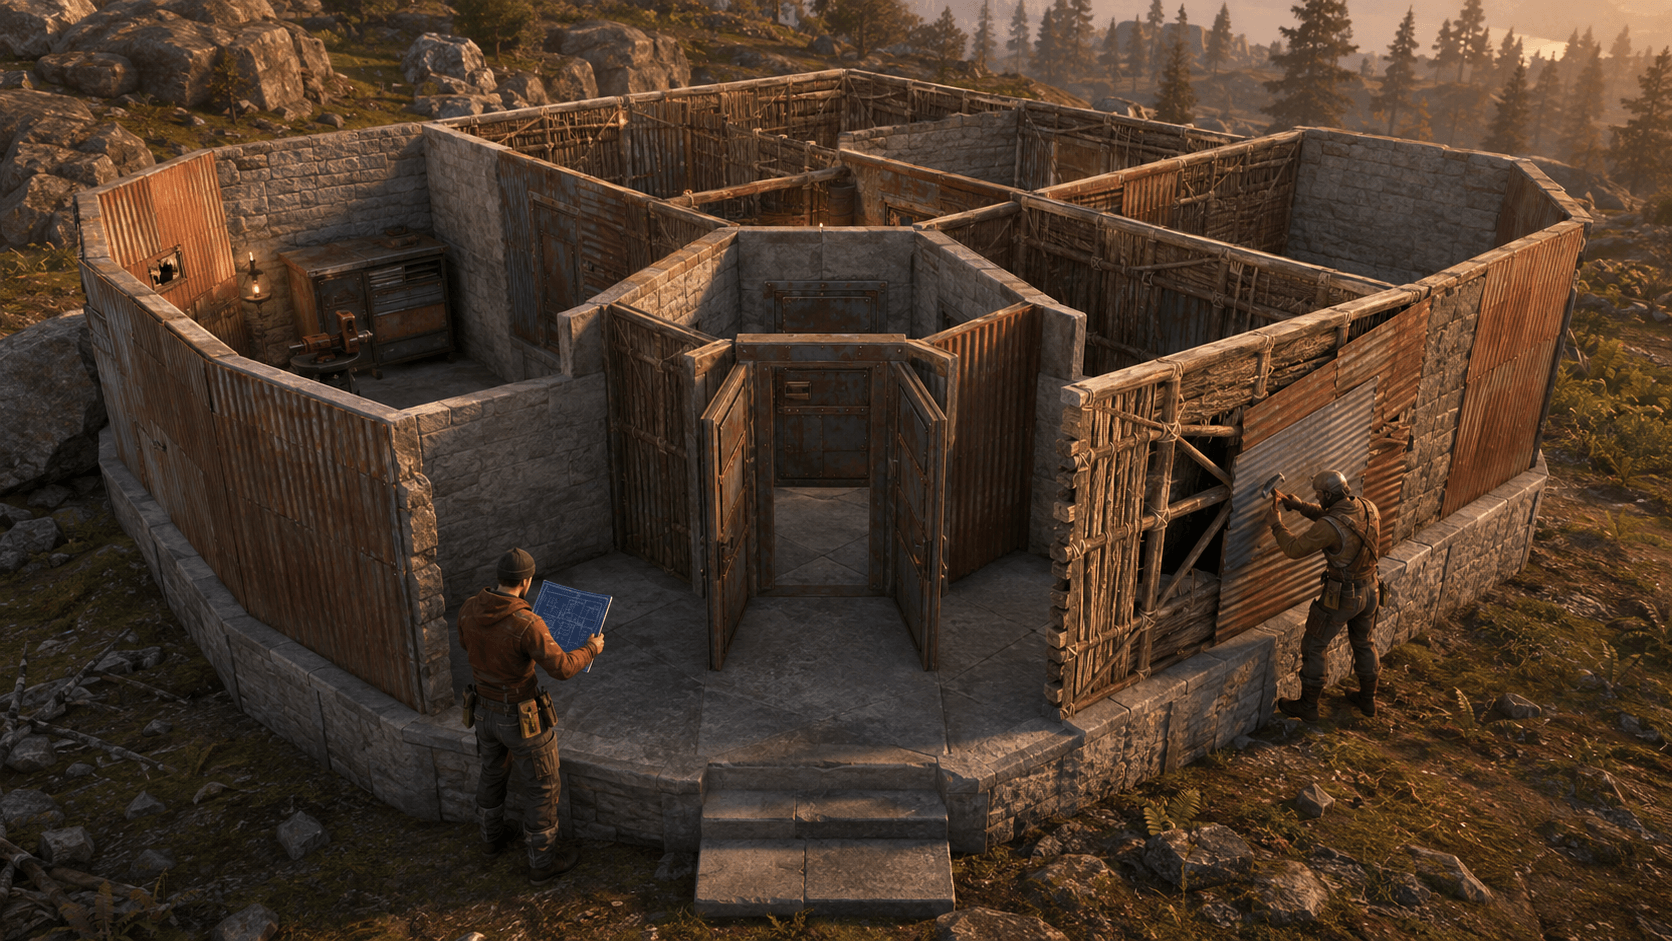
Indoors, temperature is better controlled, and distances are short, so heavy elements are more useful. Lay out sets near different bags and keep a shotgun or SMG nearby. Lock internal doors after issuing a set.
The construction of passages and backup rooms is explained in the base building guide. Armor works only if the defender reaches it in time.
Condition and repair
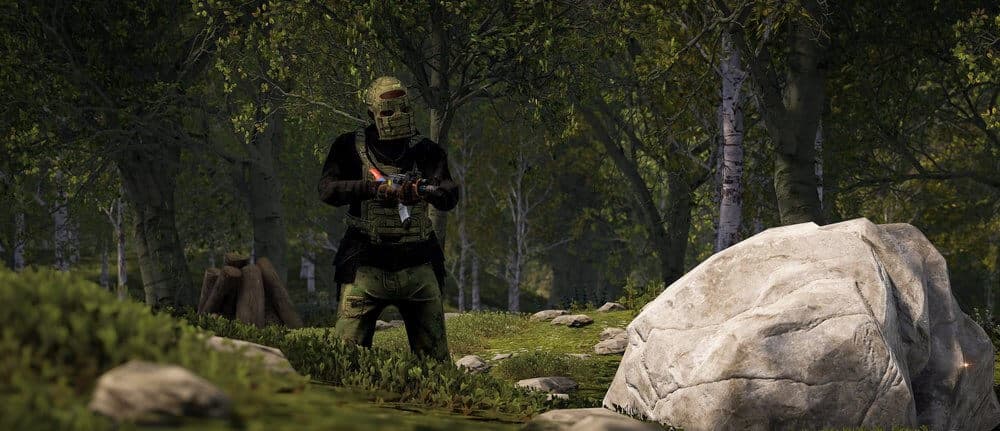
Damaged equipment may break in the next fight. Check the condition upon return. Repair requires materials and reduces maximum durability, so endlessly restoring one item is not cost-effective.
Gather a supply of leather, cloth, HQM, and sewing kits. The guide on what to keep is shown in the components guide. A completely broken item should not be left in a box of ready sets.
Comparing two sets
- Determine the main threat and biome.
- Compare the summary stats on the character.
- Check occupied slots and compatibility.
- Consider the condition and repair cost.
- Add weapons, healing, and ammo.
- Evaluate if you can rebuild the same set again.
Do not choose based on appearance. The best set is the one that addresses a specific task and does not break the team's economy after one death.
Common mistakes
- metal set without cold protection in snow;
- considering Hazmat as heavy combat armor;
- wearing an expensive chest plate without a helmet;
- ignoring the condition of found items;
- wearing all the best sets of one group;
- copying old percentages without verification.
Maintain multiple gear levels: cheap, work, and expensive. This way, defeat does not halt progress, and each set's role remains clear.
Ready sets by budget
Cheap setup: cloth clothing for temperature, a basic helmet, and a wooden or found chest plate. Work set: hoodies and pants, road sign elements, and a Coffee Can Helmet. Expensive combat: metal facemask and chest plate with suitable layers. Keep Hazmat as a separate set for radiation and quick recovery.
These are roles, not strict recipes. If the overall cold in the snow is negative, replace one element. If you are going into a narrow corridor, head and explosion protection are more important than long-range visibility. Before heading out, the team should understand who carries the most expensive set and who can pick it up after a fall.
Storing armor
Place ready sets in different parts of the base. Place weapons, ammo, and healing nearby. Do not mix broken items with functional ones: in an emergency, no one reads the condition of each element.
After returning, repair valuable items and replace cheap ones. Separate boxes for "cold," "radiation," and "combat" speed up collection. A reserve at an external bag allows you to continue defense even if the main armory is raided.
Latest comments