










Weapons in Rust: a complete guide to firearms and ammunition
Weapons in Rust are chosen not based on just damage numbers, but also on distance, kit cost, available blueprints, and the likelihood of getting loot back. A cheap shotgun in a corridor can be more useful than an expensive rifle, while a semi-automatic rifle in an open field provides control that a submachine gun lacks. This guide explains progression, ammunition, modules, and ready-made kits.
How to Evaluate Weapons in Rust
Look at five factors: effective distance, rate of fire, magazine capacity, ammo availability, and loss cost. Exact values change, so practical role is more important than an old table. A weapon that the team can quickly replace allows for more training and confident engagement in fights.
Consider the environment. In a tunnel, the first shot and wide spread of buckshot matter, in a forest — mobility, on a roof — range and optics. Before heading out, define the task: farming roads, base defense, monument or raid. There is no universally best weapon for all situations.
Progression after a Wipe
- Primitive Stage: spear, hunting bow, crossbow, and makeshift weapons.
- Early Firearms: Eoka, water pipe, shotgun, and revolver.
- Mid Stage: semi-automatic pistol, Python, Thompson, Custom SMG, and SAR.
- Late Stage: assault rifles, MP5, M39, bolt-action rifle, L96, and rare military weapons.
It's not necessary to go through each stage. A lucky loot or victory can lead to a leap, but without the ability to craft ammo and repair kit, a costly trophy will stay at home.
Bow, Crossbow, and Primitive Combat
The bow is cheap, silent, and teaches trajectory awareness. It's suitable for hunting, early defense, and finishing off enemies, but requires movement and cover between shots. The crossbow reloads slower, but its single shot is stronger and more convenient for shooting from cover.
Carry extra arrows, a simple close-range tool, and bandages. Don't stand still after a shot: the enemy will quickly pinpoint your position. Primitive kit is useful even in the middle of a wipe as cheap gear for scouting.
Eoka: The Cheapest Firearm
Eoka is an extremely cheap and unreliable pistol that uses buckshot ammo and can be crafted without a workbench. It only works at very close range, where the enemy finds it hard to respond quickly.
Use Eoka from cover, keep a path to retreat, and don't rely on instant firing. It's a tool of chance, not a stable primary weapon. Its value lies in being able to exchange a few basic resources for an opponent's expensive kit.
Water Pipe and Shotgun
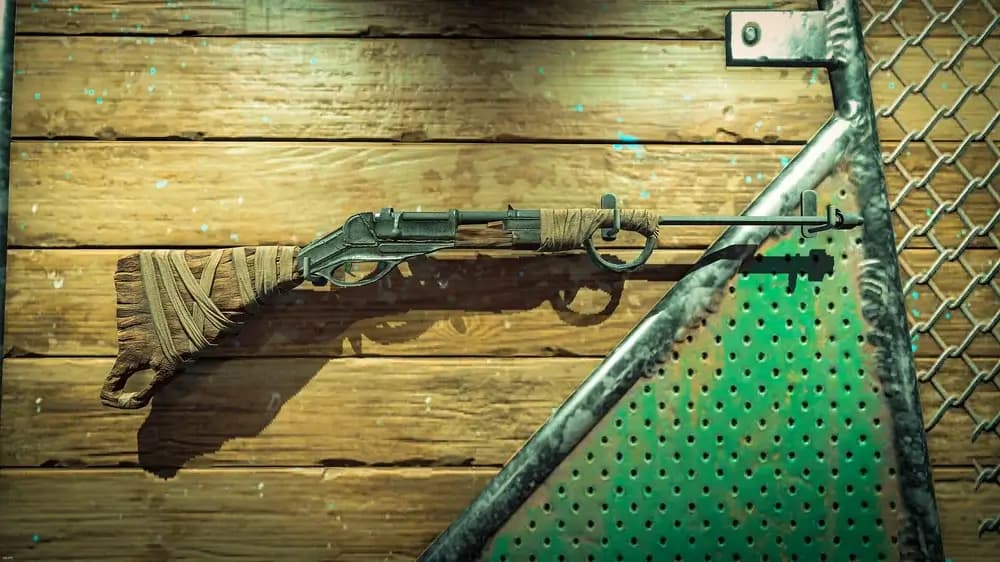
The Waterpipe delivers one powerful shot with a long reload time. After an attack, switch to close-range weapons or retreat around a corner. The shotgun allows for quickly firing two shots, forgiving inaccuracy, and is especially dangerous in doorways, bushes, and narrow rooms.
The key is to close the distance unnoticed. In an open field, a shotgun reveals your position but doesn't guarantee a confident outcome. For base defense, keep doors closed, don't walk straight into a sight, and use familiar room geometry.
Revolver, SAP, and Python
The basic revolver is a reliable early choice: relatively available ammo, clear distance understanding, and low repair cost. The semi-automatic pistol continues firing faster and allows for more modules. The Python relies on a strong precise shot but punishes misses more and requires pace control.
Pistols are useful for component farming, accompanying builders, and fights inside monuments. Don't try to compete with a rifle on a long line. Close the distance, use walls, and decide in advance where to reload.
Submachine Guns: Custom, Thompson, and MP5
SMGs shine at close and medium distances. The Custom quickly empties the magazine and is dangerous in sudden contact, but requires burst discipline. The Thompson is usually seen as a balanced step towards serious kits. The MP5 belongs to a more expensive and rare level, combining rate of fire with good control in its role.
Don't shoot long bursts at a distant target. Use short bursts, move between covers, and keep track of ammo. For entering a building, a flashlight is often more valuable than optics, and in an open area, a sight with slight magnification will be useful if compatible.
Semi-Automatic Rifle SAR
The SAR is a working tool for medium distance. Individual precise shots save ammo, allow controlling the road, and supporting the team. In close quarters, the semi-automatic pace lags behind SMGs, so don't go first without information.
Shoot rhythmically, don't press the trigger faster than you can return the sight. Change position after several shots. SAR is especially useful for a player holding height while a teammate with a shotgun or SMG shortens the distance.
SKS, AK, and Other Assault Rifles
Assault and modern semi-automatic rifles cover a wide range of distances but are expensive and attract attention with sound. AK requires control and pace knowledge but works confidently in the hands of an experienced player. SKS, LR, M39, and new models occupy their niches between precise single fire and controllable bursts.
Don't evaluate them only at the shooting range. On a real server, armor, delay, height, visibility, and numbers matter. If it's scary to take out the only rifle, practice with a cheaper kit and prepare a reserve of ammo.
Bolt-Action Rifle and L96
Bolt-action rifles are designed for long distance and space control. After each shot, you need a new position or cover for reloading. High magnification helps see the target but narrows the view: a teammate should watch the flanks.
Don't stand as a silhouette on the crest. Work slightly below the ridge, use different windows, and don't repeat the peak with the same rhythm. A sniper rifle without a short-range weapon is vulnerable inside a building, so add a pistol or SMG.
Pump, SPAS, and Combat Shotguns
The pump shotgun is convenient for sequential combat indoors and allows for changing ammo type. The SPAS and other rare models continue pressure faster but their loss is more costly. Choose a weapon based on the task: door defense, corridor clearance, or shooting from a further position with special ammo.
A shotgun doesn't replace reconnaissance. Before entering, listen for reloads, check for traps, and don't stand together in a single door line. Even a powerful shot won't save you if the whole team walks into a prepared corner.
Machine Guns and Rare Military Weapons
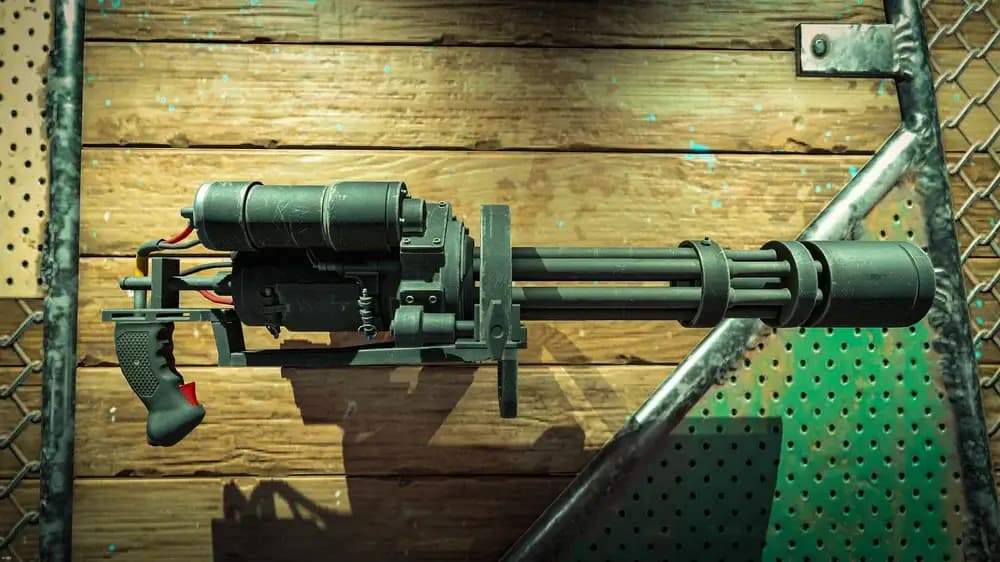
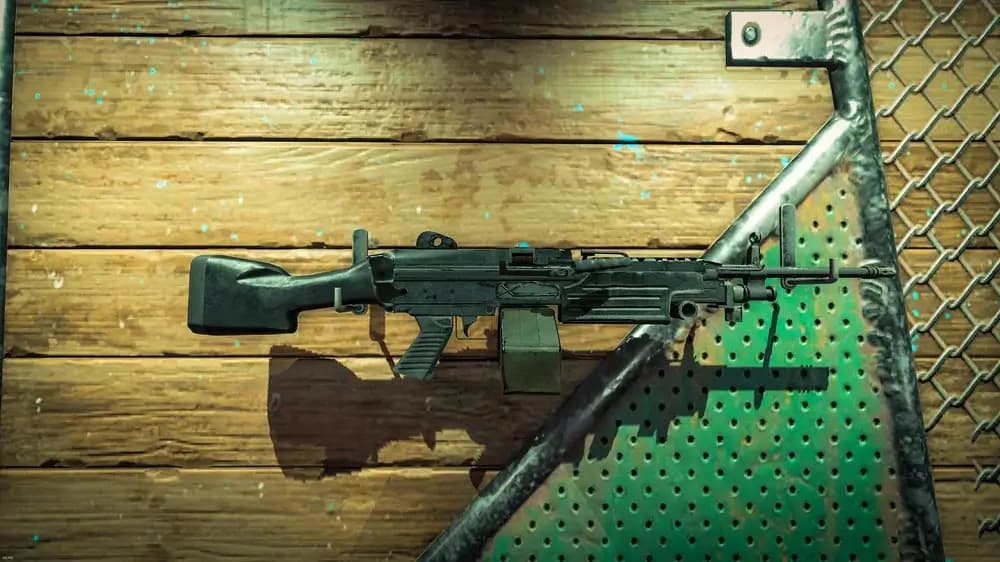
Handheld machine guns, miniguns, and military rifles provide sustained fire but require expensive ammo and position control. They are particularly useful for defense, large clashes, and suppressing the enemy. Such a price is often unjustified for regular farming.
Appoint a helper gunner with extra ammo and healing. Don't empty the entire magazine into a wall: short suppression should allow an ally to change position or get closer. After a fight, immediately check the condition, ammo, and retreat path.
Choosing Ammunition Types
| Type | Main Role | When to Use |
|---|---|---|
| Regular | versatile combat | most outings |
| High Velocity | smoother trajectory | long distance |
| Incendiary | pressure and special damage | situational tasks |
| Explosive | structure damage | prepared raid |
| Buckshot | close combat | rooms and ambushes |
| Slug | precise single shot | shotgun distance |
Don't mix purposes. Explosive rounds are too expensive for regular shootouts, and buckshot loses effectiveness at a distance. Keep special ammo in a separate slot and check what the barrel is loaded with.
Sights, Flashlights, and Modules
A simple sight speeds up aiming, optics help at long distances, a flashlight illuminates dark areas, a laser aids in control in its situation, and a suppressor reduces visibility at the cost of weapon stats. Compatibility depends on the specific barrel, so check available slots before heading out.
Don't install everything at once. The module should solve the kit's problem. For night clearing, you need light, for observation — optics, for stealth farming — noise reduction. An extra detail increases the loss cost.
Weapon Condition and Repair
Items wear out with use. Before heading out, check the condition scale, especially for found weapons. Repair requires resources and may reduce maximum durability. A barrel on the brink of breaking can't be considered a full spare option.
Organize a separate box: weapons, suitable ammo, modules, armor, and healing. After returning, replenish the kit immediately, not before the next outing. This routine reduces chaos during a base attack.
Ready Kits for Tasks
- Cheap Recon: bow or revolver, light clothing, bandages, minimal ammo.
- Monument: SAR or SMG, armor, healing, flashlight, ammo reserves.
- Home Defense: shotgun or pump shotgun, doors as cover, a bag reserve.
- Team Support: rifle, sight, plenty of healing, position behind the assault player.
- Raid: primary weapon, close-range backup, explosives distributed among players.
Passage calculation and group organization are detailed in the Rust Raiding Guide.
How to Obtain Weapons Without Unnecessary Risk
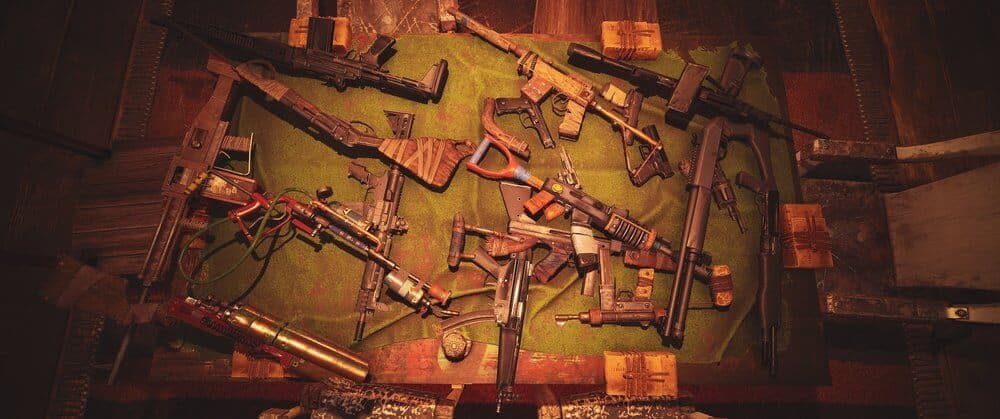
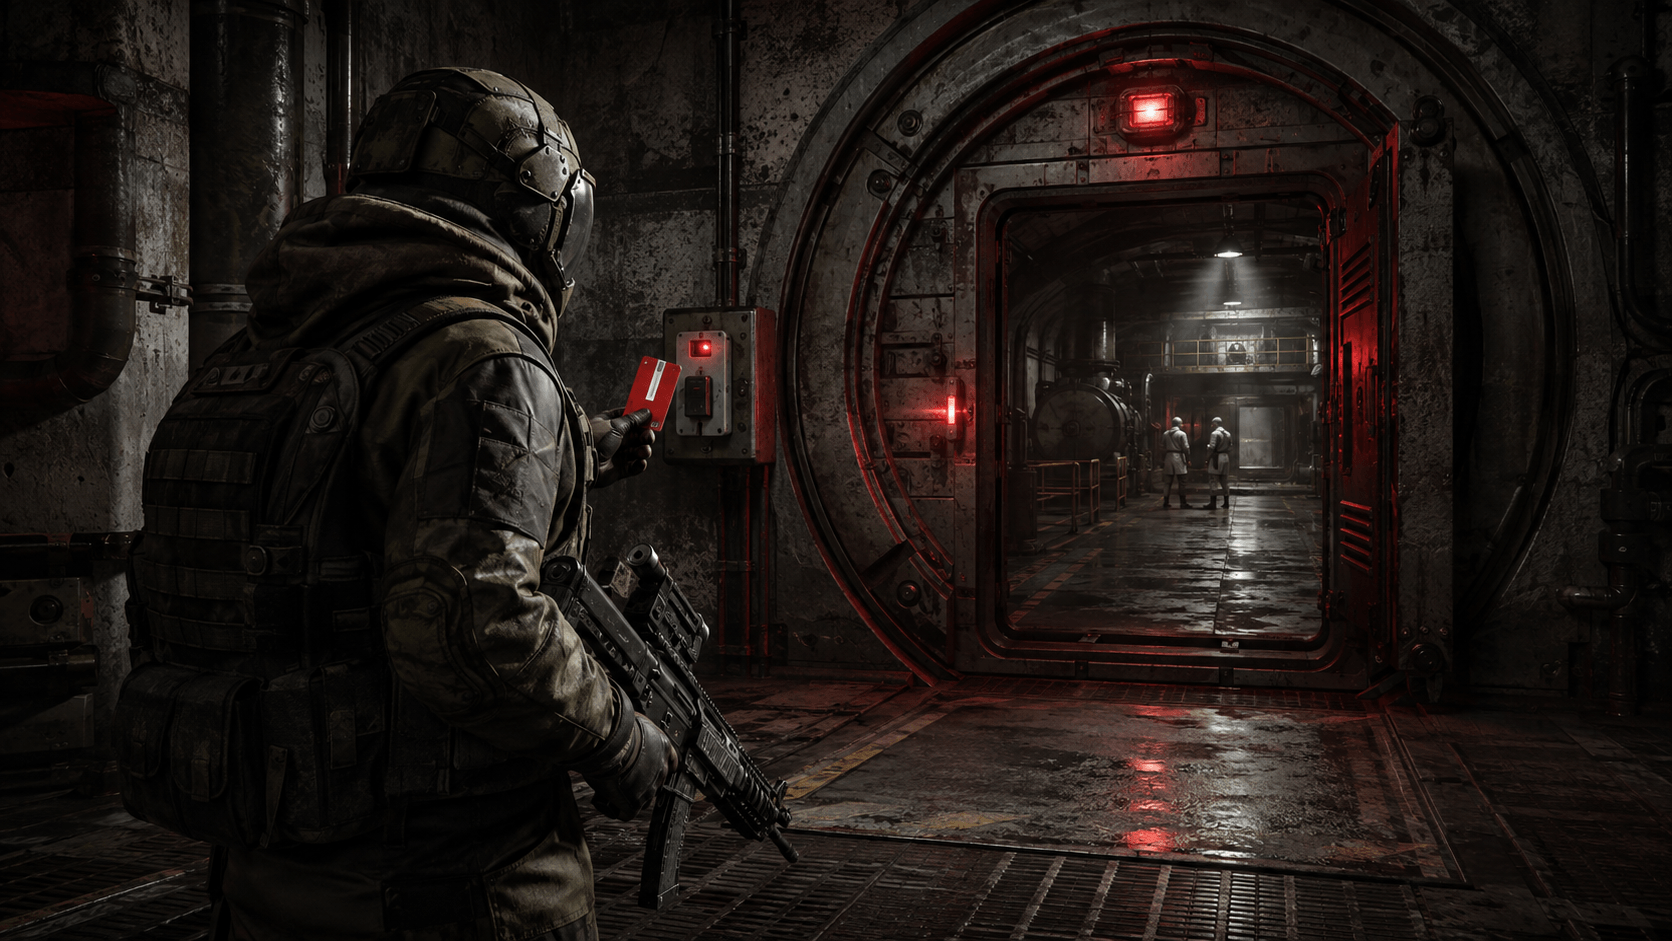
Weapons are found in crates, obtained from NPCs and players, bought, researched, and crafted. Start with a route that the team can repeat. Learn about green, blue, and red access cards if planning monuments.
Don't recycle components blindly: pipes, springs, and bodies will be needed for crafting. Use the Rust Components Table and keep a reserve for two to three kits.
How to Avoid Losing a Good Barrel Immediately
Before heading out, check armor, healing, ammo, weapon condition, and free slots. Plan two return points. Don't run to the sound of every shot: first determine the distance, direction, and possible group size.
After a victory, reload and survey flanks before looting. Don't stand over a body. Quickly grab weapons, healing, and the most valuable resources, then move. Use the combat log through combatlog from cover; the setup is described in the Rust Commands Guide.
Main Principle of Choice
Create not just one perfect kit, but a recovery ladder. After a defeat, the team should switch from rifles to SMGs, then to revolvers and primitive weapons, without stopping play. Keep ammo separate from some barrels, distribute gear between crates, and don't take out the last copy without reason.
Weapon balance changes with patches. Before a wipe, check official notes and our Rust Update Reference. The skill of adaptation is more useful than memorizing numbers from an old guide.
Training Without Senseless Loot Loss
Master one class at a time. Start by shooting at a stationary target at a familiar distance, then add movement, cover, and position change. Compare not the best magazine but the consistent result of several attempts. If the first shots are accurate but the rest of the burst goes up, reduce its length and return the sight between series.
In a real game, designate a sector in advance. One member watches the long line, the second holds the close passage, the third prepares to retreat. When the whole group shoots at one visible target, a flank remains empty. After each fight, briefly analyze the distance, ammo consumption, and reason for health loss.
What to Keep Near the Weapon Crate
Store ready-made kits, not scattered supplies. Compatible ammo, two types of healing, suitable armor, and, if necessary, a flashlight or optics should be next to the barrel. Leave a cheap set for returning to a body separately. Label containers by task: "defense," "monument," "long-range combat."
Don't keep all the best arsenal in one room. Access to it may be cut off during a raid. A small reserve near another spawn point gives a chance to continue defense. Regularly check item conditions and replace empty magazines before an alarm.
Latest comments