










Raids in Rust: explosives, planning, and tactics
Raid in Rust is won before the first explosion. Proper reconnaissance, sulfur calculation, route selection, respawn points, and defense against counter-raiders are more important than the number of rockets. Even a small base can turn out to be an expensive trap, and a massive house might have a short path through poorly defended doors.
Determine the raid goal
Raiding out of random curiosity is often unprofitable. First, decide what you want to achieve: resources, territory control, eliminating a dangerous neighbor, recovering stolen items, or gaining access to a convenient spot. The goal determines the time, acceptable cost, and the need to capture the tool cupboard.
If the task is profit, assess the base's activity. How many players are entering, what armor they wear, whether they bring ore, if the large furnace is running, and if there is transportation and a shop? For territory control, it is more important to completely deprive the owners of the ability to quickly rebuild. Do not spend all your team's resources on a house whose value you cannot explain.
Reconnaissance before the attack
Observe from different directions and at different times. Count external doors, find possible locations of airlocks, garages, staircases, and external tool cupboards. By extensions and expansion direction, you can assume the position of the old core. Electrical cables, pipes, smoke, and device sounds also reveal functional rooms.
Do not approach walls with a full kit. First, use cheap clothing and weapons. Check turrets, traps, embrasures, cameras, and possible neighbor roofs. If the house is located near a road or monument, counter-raiders will arrive faster. Check the format and current online on the our Rust servers page.
Door or wall route
Doors are often cheaper than individual walls, but a sequence of garage and armored doors quickly increases the cost. A wall is more expensive, but it can open several rooms at once when used correctly with area damage. Sometimes the floor and ceiling provide a short vertical path. Make a decision after evaluating the entire geometry, not the first obstacle.
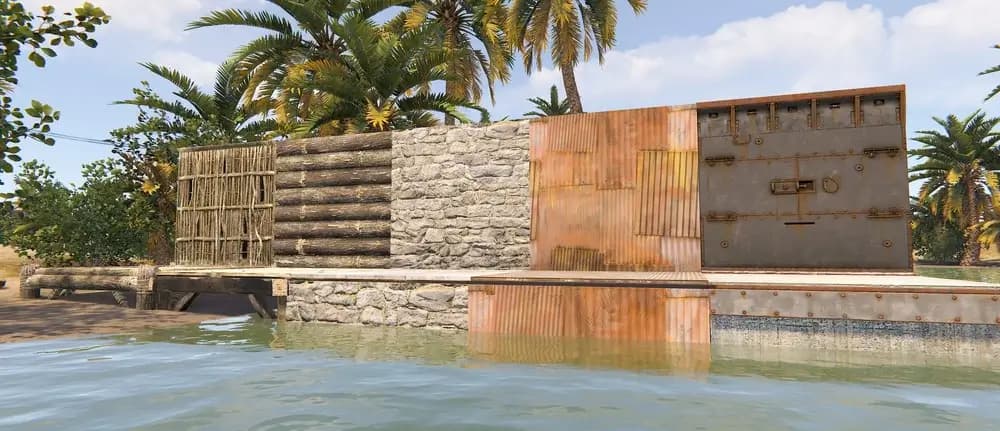
Look at the materials. Stone, sheet metal, and armor have different durability. Wooden and stone elements are significantly more vulnerable to tools on the soft side. Explosives act the same regardless of orientation, but the soft side offers an economical quiet option. Do not start pounding a wall until you have checked if the visible surface is solid.
Check the current number of charges and ammunition in the raider's table: the balance of weapons and building elements changes. Always round the calculation up and add a margin for error, an additional door, or repairs by defenders.
Main raiding tools
| Tool | Strength | Main Weakness |
|---|---|---|
| Tools and spears | Quiet damage to the soft side | Slow and consumes durability |
| Flamethrower and incendiary ammo | Effective against wood | Noticeable fire and fuel consumption |
| Satchel charge | Available at an early stage | Unpredictable ignition |
| Explosive 5.56 ammo | Precise damage control | Noisy, weapon wear, and time |
| Rocket | Area damage | Expensive and loud from afar |
| C4 | Quickly breaks the chosen target | High cost and almost no building splash |
C4 is crafted at a high level from explosives, cloth, and tech trash. Rockets use explosives, gunpowder, and pipes. Satchel charges are assembled from four grenades from a bean can, stash, and rope. Before crafting, check the component supply according to the component guide.
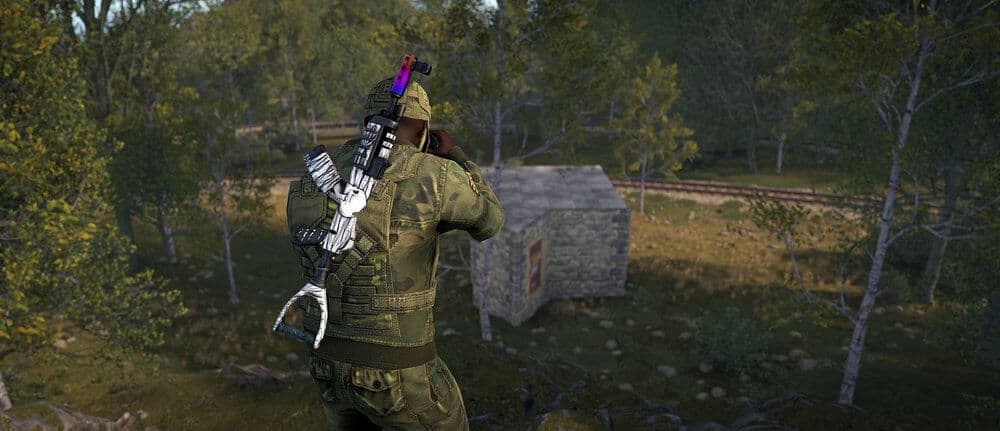
When to choose rockets
A rocket is beneficial when the explosion hits multiple building elements or simultaneously damages doors, walls, and defensive devices. Aim at the intersection of surfaces if the geometry allows for damage distribution. A bad angle turns an expensive projectile into a regular hit on one wall.
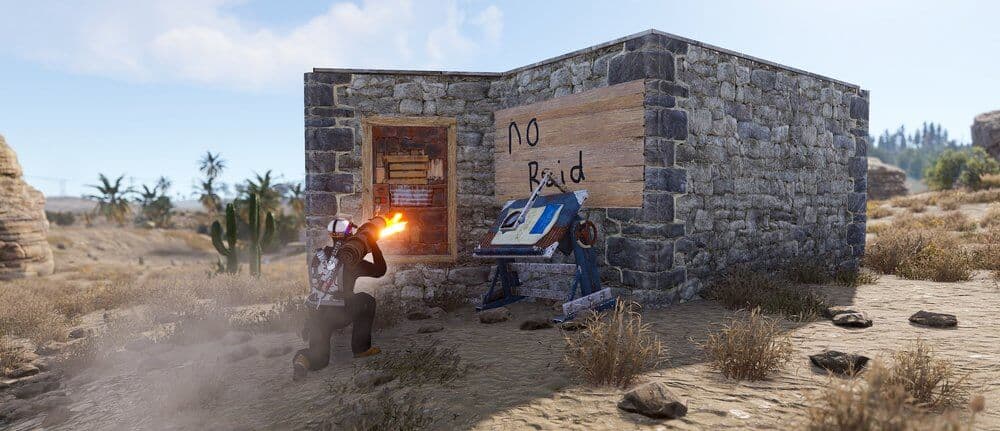
The rocket launcher makes the shooter slow and noticeable. Organize cover, do not stand all together in one spot, and check the space behind you. After firing, smoke obscures the view for both you and defenders. A teammate should control the roof and approaches, not just watch the destruction.
When C4 and explosive ammo are better
C4 is suitable for quickly passing through a door or chosen wall. You can set the charge and immediately return to cover. Do not stand near the surface and do not stack the next charges under your feet. If obstacles are placed one by one and do not provide useful area damage, C4 saves time.
Explosive ammo is convenient for precise finishing and small targets. They allow you to stop when the element has little health left, but they quickly wear out the weapon and create prolonged noise. Take a spare gun or resources for repairs. A suppressor changes audibility but does not turn shooting into complete silence.
Economical raid
Wooden doors, grilles, or walls are sometimes destroyed by fire. The soft side of a building block can be dismantled with tools. This raid requires time but almost no sulfur consumption. It is especially useful at the beginning of a wipe and against forgotten extensions.
Before starting, make sure the cheap route actually leads inside. A false external room may only contain a furnace or empty crates. Listen for footsteps and doors, check cracks, use height, and look at the lock positions. Basics of layout and airlocks are explained in the beginner's guide.
Preparing a raid base
A small raid base stores supplies, provides a respawn point, and a closed place for regrouping. Place it out of direct turret view but close enough for quick delivery. Lock the cupboard, distribute bags, and leave building resources. Do not store all explosives in one box near the external door.
For a short operation, a secure room with an airlock is sufficient. A long online raid requires an overview position, additional kits, medicine, ammo, and repair materials. If electrical defense is used, create an independent circuit following the principles from the electricity guide.
Roles within the team
- Explosives shooter calculates and creates a passage.
- Cover controls the roof, windows, and distant approaches.
- Builder carries the plan, hammer, cupboard, doors, and materials.
- Carrier quickly transports found items in small batches.
- Observer monitors counter-raiders and neighbor movement.
In a small group, roles may overlap, but responsibilities should remain clear. Do not allow everyone to climb into a box at the same time. While one sorts the loot, others hold positions and check for new passages.
Tool cupboard
Controlling the cupboard allows authorization, building, and sealing captured areas if other cupboards do not block the zone. After gaining access, clear the authorization, place your lock, and block the open route. In a large base, external cupboards may not allow immediate establishment.
Do not automatically destroy the cupboard. Sometimes it is more advantageous to first take the maintenance resources and assess the layout. In another situation, destruction is necessary to place your own cupboard. The decision depends on the raid goal and coverage of neighboring privileges.
Looting and safe extraction
First, take explosives, weapons, ammo, high-quality metal, and rare components. Then transport scrap, sulfur, crafted kits, and resources. Large amounts of wood and stone are valuable but should not delay the group in an open passage. Make several trips and close doors after each one.
Do not break all boxes without reason: scattered items clutter the room and may disappear. Sort on-site only under perimeter control. For transporting large loot, a protected vehicle from the modular cars guide will be useful.
Inventory for the operation
In addition to calculated explosives, take weapons for close and medium range, ammo, healing, food, building plan, hammer, wood, stone, doors, locks, and cupboard. Ladders help change height, and fences and barricades quickly create cover where building is allowed. One participant should carry a reserve separately from the main shooter.
Do not fill every slot with combat gear. Leave space for key items and prepare empty boxes in the raid base. Light sources are useful at night, but a constant beam gives away your position. Smoke and silhouettes on the roof are visible from afar during the day, so camouflage is still important.
After each pass, check the remaining supplies. Do not use a finishing tool without checking the target's health: an expensive rocket on an almost destroyed door worsens the operation's economy. Assign someone to track consumption and report when supplies are running low.
Repair and defender actions
During an online raid, owners can block passages, place new doors, repair elements after incoming damage, and move valuable items. Maintain pressure but do not shoot without a plan. Defenders often provoke raiders to spend explosives on a fresh wall behind which there is no core.
Monitor hammer sounds and construction. If a new surface appears, assess if it can be bypassed through an already opened room. Control respawn points and do not allow defenders to freely move between floors. However, do not gather at one doorframe: a grenade or lucky shot can stop the entire group.
If resistance drags on, change the pace. Distracting noise from one side and a real passage from the other force defense to spread out. But the additional route must be calculated: chaotically creating two unfinished breaches only doubles the expense.
Counter-raiders
Explosions are heard from afar, so a new group may appear at any moment. Do not shoot at a random silhouette if the position is still hidden, but do not allow strangers to approach the breach. Move supplies from the direct fire zone, place bags, and constantly check nearby elevations.
After an opponent's death, they will try to return via a bag or from a neighboring base. Do not all stand over the body. One player controls the return, another continues the task. If the situation worsens, preserving part of the explosives is more important than a disputed box.
Online and offline
An online raid is more challenging: defenders repair, build, close doors, and use positions you have not seen. However, such a battle creates a full-fledged event and requires better teamwork. Offline raids are usually more predictable, but counter-raiders remain a threat, and loot is not guaranteed.
Rules of individual communities may limit the time or format of attacks. Before preparing, study the server description and schedule in the wipe calendar. The closer to the end of the cycle, the less time remains to recoup the captured base.
Final check before the explosion
- The raid goal is clear to the whole group.
- The route is calculated based on current durability.
- There is a reserve of explosives and a finishing tool.
- The raid base is closed, bags are set.
- Roles, communication channels, and retreat direction are coordinated.
- There is space for loot and spare kits.
- Turrets, external cupboards, and neighboring bases are checked.
A good raider knows when to stop. If reconnaissance was incorrect, resistance exceeds the calculation, and counter-raiders have taken the position, retreating preserves resources for the next attempt. In Rust, profit comes not from the loudest explosion but from discipline between the first observation and the last looted box.


Latest comments