










Electricity in Rust: blueprints, batteries, and power
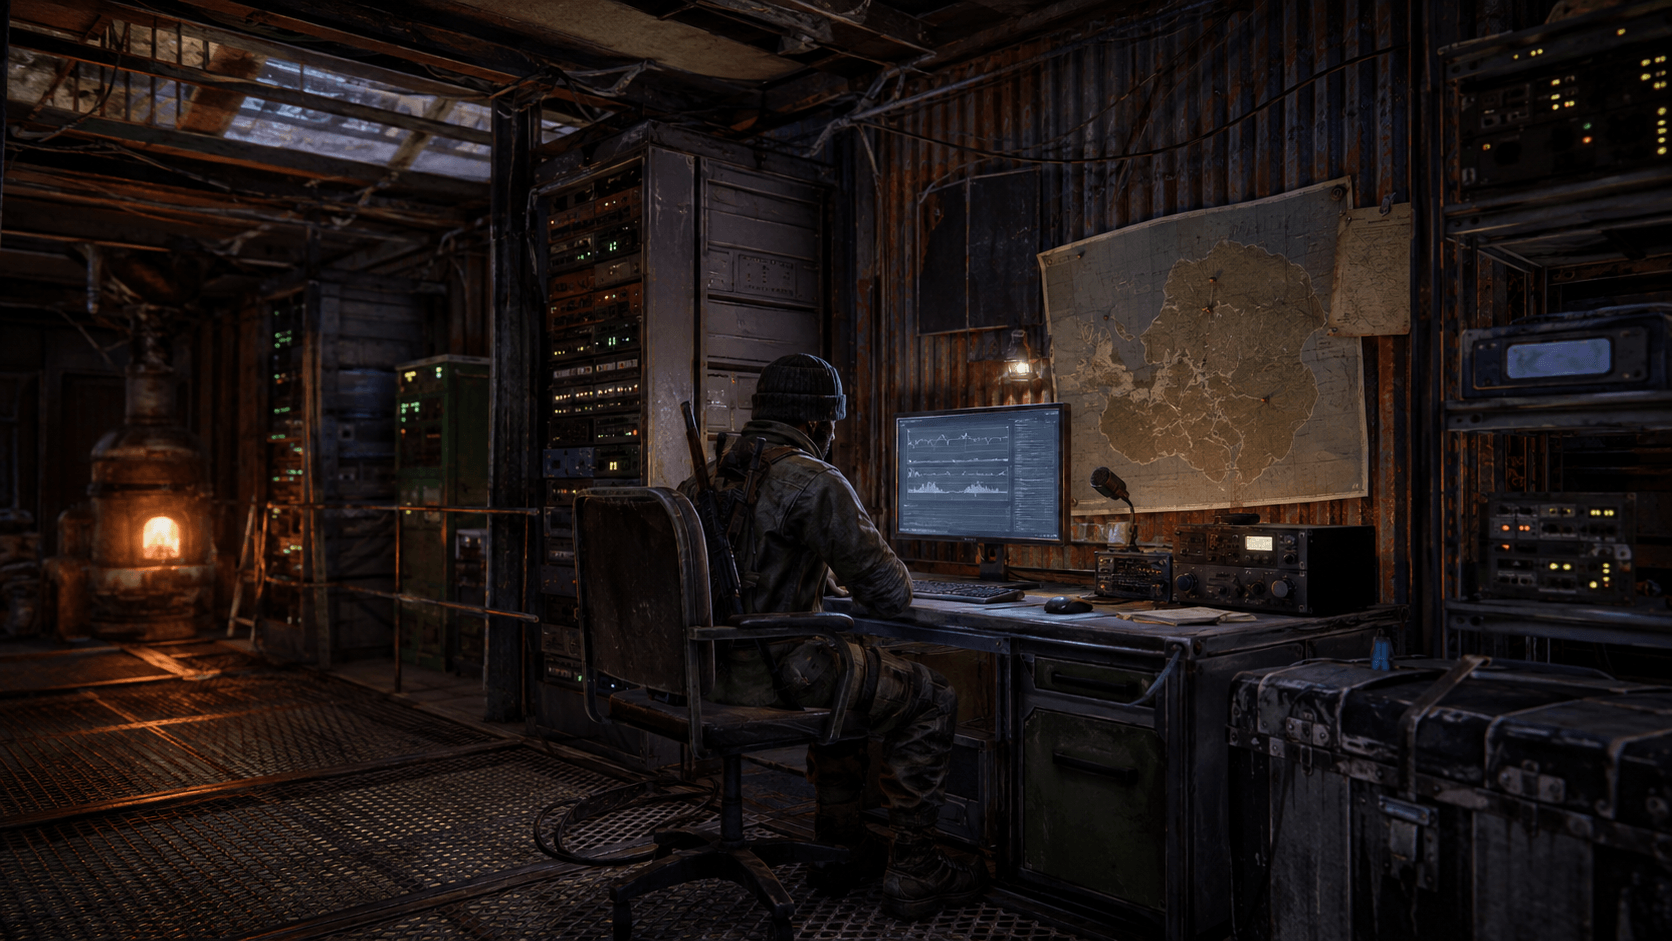
Electricity in Rust turns a regular base into a system: lights turn on automatically, doors receive signals, turrets defend approaches, pumps power farms, and industrial craft moves items between crates. Complex circuits may look intimidating, but each of them is built from four parts — source, battery, distribution, and consumers.
How Power Works
Power is measured in rW. The source generates energy, the consumer takes the specified amount, and some components additionally consume one power unit for their own operation. If the circuit lacks power, the outermost devices stop working. Therefore, design the scheme based on consumers: add up their consumption, add control elements, and leave a small reserve.
Connections are created with a wire tool. Hold it in your hands, click on the output of one device, run the line along the walls, and connect it to the input of another device. You can cancel a selected connection with the right mouse button. Lay the cables neatly and label the branches' purpose with their location: after expanding the base, a tangle of lines becomes more challenging than any raid.
Sources: Panel, Turbine, and Generator
A large solar panel outputs up to 20 rW, but the actual power depends on sunlight and angle. The value changes during the day, and production stops at night. Place panels so that buildings, rocks, or neighboring towers do not block the sky. Two panels are connected through a root combiner, and then the common output goes to the battery.
A wind turbine generates energy around the clock, and high placement usually improves performance. According to current data, its profile reaches 150 rW, but the instantaneous value changes with the wind. Place the turbine on a stable tower and consider that it is visible from a distance. For a small base, several panels are often cheaper and less conspicuous.
A fuel generator is useful as a backup or temporary source. It is weather-independent but consumes low-grade fuel and requires manual control. Do not connect permanent protection only to the generator if no one is monitoring the fuel supply. Its strong points are emergency power, portable workshop, and testing new schemes.
Why You Need a Battery
The battery accepts unstable generation and provides steady power to consumers. A large rechargeable battery has an output of up to 100 rW and a large reserve, making it suitable for turrets and a full base. Small options are convenient for lights, sensors, a single door, or an independent emergency circuit.
The source is connected to Power In, and devices are connected to Power Output. Pay attention not only to the current charge but also to the balance: the average input power should cover the scheme's consumption. If the battery regularly drains in the evening, add generation, remove unnecessary consumers, or activate heavy equipment only on signal.
Protect the battery like a valuable crate. A destroyed external wall should not immediately expose the entire power system. Separate the main and emergency circuits: a small separate battery can keep the lights, alarm, or door running when the central system is damaged.
Energy Distribution
| Component | Purpose | Typical Task |
|---|---|---|
| Switch | Manually breaks the circuit | General shutdown |
| Electrical Branch | Delivers specified power to Branch Out | Precise limit for the device |
| Splitter | Divides input among multiple outputs | Group of identical lights |
| Root Combiner | Combines two sources | Two panels or two turbines |
| OR Switch | Passes one of the available inputs | Main and backup power |
| Blocker | Disables passage with a control signal | Automatic switching |
| Memory Cell | Stores state | Door and signal logic |
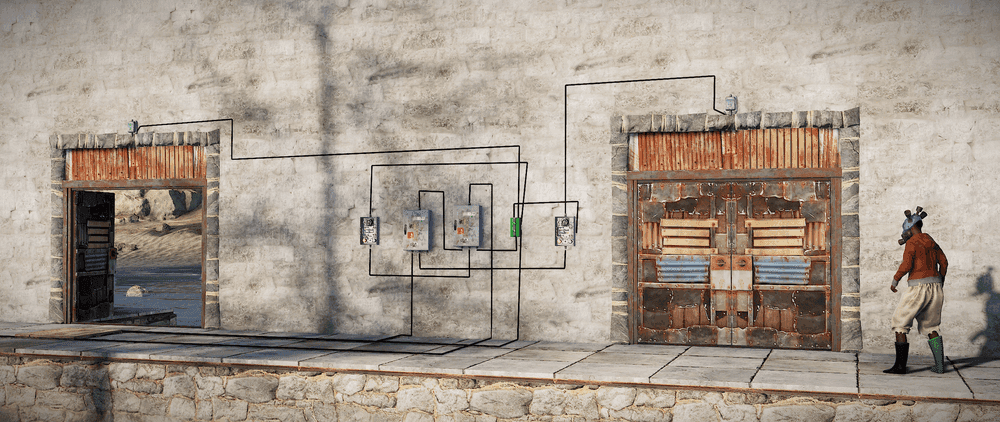
The root combiner is intended for energy sources, not for combining arbitrary outputs. The branch is convenient when a device needs a strictly defined power: set the value and send the remainder further. The splitter is simpler, but if there is not enough input, the result may not be as predictable.
Simple Lighting Scheme
- Install a solar panel and a small or medium battery.
- Connect the panel to the battery input.
- Lead the battery output through a switch.
- After the switch, place a branch or splitter.
- Connect the lights in series or with separate lines.
- Check consumption at night when the panel is not producing anything.
For automatic lighting, add a day and night sensor or timer. However, leave manual control: light reveals presence and helps opponents assess the layout. It is convenient in a living room, while at the external perimeter, it is wiser to turn on the lighting only in case of an alarm.
Automatic Trap-Free Door
The door controller receives power and commands Open, Close, or Toggle. The safest scheme should not leave the external door open when the signal is lost. First, install regular locks and check the airlock, then automate internal passages. Construction basics are described in the Rust beginner guide.
The HBHF sensor reacts to players in the visible area. It can be configured considering authorized characters and used for light, alarm, or gates. Do not aim such a sensor through a too open area: a random passerby will constantly trigger the system. Critical doors are better closed with a separate signal, not simple switching.
Powering Auto Turrets
The turret must receive continuous power and have proper authorization. Calculate the consumption of all turrets, control blocks, and additional devices. Divide the protection into sectors: if one line is damaged, the other positions will continue working. Do not leave the cable and battery accessible from the roof or through a window.
Check the firing direction and blind spots. Electricity does not fix poor installation: a low turret may shoot at a wall, and an overly exposed one will quickly lose its weapon. A signal light or smart alarm helps notice disconnection. For remote garages and transportation, the guide on modular cars will be useful.
Smart Alarm and Rust+
Smart Alarm sends an event upon receiving a signal and is useful together with sensors, turrets, seismic sensors, or door control. It does not replace physical protection but gives time to connect and assess the situation. Place the alarm deep inside the base; otherwise, a raider will disable notifications with the first explosion.
Create clear contours: "external sensor," "power loss," "damage," and "door open" should be different events. An overly sensitive system quickly turns into noise that everyone ignores. After each expansion, conduct a test with a partner.
Electricity for Water and Farming
Pumps, purifiers, and sprinklers allow maintaining plants without constant manual watering. First, provide a water source and proper fluid connections, then add power. Do not mix electrical and water lines in mind: these are two separate networks with their inputs and tools.
A timer helps start watering in intervals, and sensors and logical components react to the system's state. For a berry farm, temperature, lighting, water, and plant genetics are important, not just electricity. Ready fruits can be used according to recipes from the mixing table guide.
Industrial Automation
An industrial conveyor moves items from one container to another and consumes 1 rW. Filters allow passing selected items, setting minimum residues, and building sorting. An industrial crafter attaches to a workbench, receives blueprints and ingredients, and sends finished items further through pipes.
Start with one useful line: ore crate → conveyor → electric furnace → output crate. After testing, add filters and fuel distribution. A complex network created at once is harder to diagnose. What exactly to keep for production is explained in the component guide.
Common Mistakes
- No power reserve. The scheme works during the day, but the battery quickly drains at night.
- Source connected directly to protection. When the wind drops, the turret is disabled.
- Summing with the wrong block. Use a root combiner for sources.
- One circuit for everything. A light failure should not cut off defense.
- Exposed wiring. An accessible component allows disrupting the circuit.
- No labeled plan. Before reconstruction, record the input, consumption, and purpose of each branch.
- Automation without manual mode. Leave a safe way to turn off and service.
Installation and Component Protection
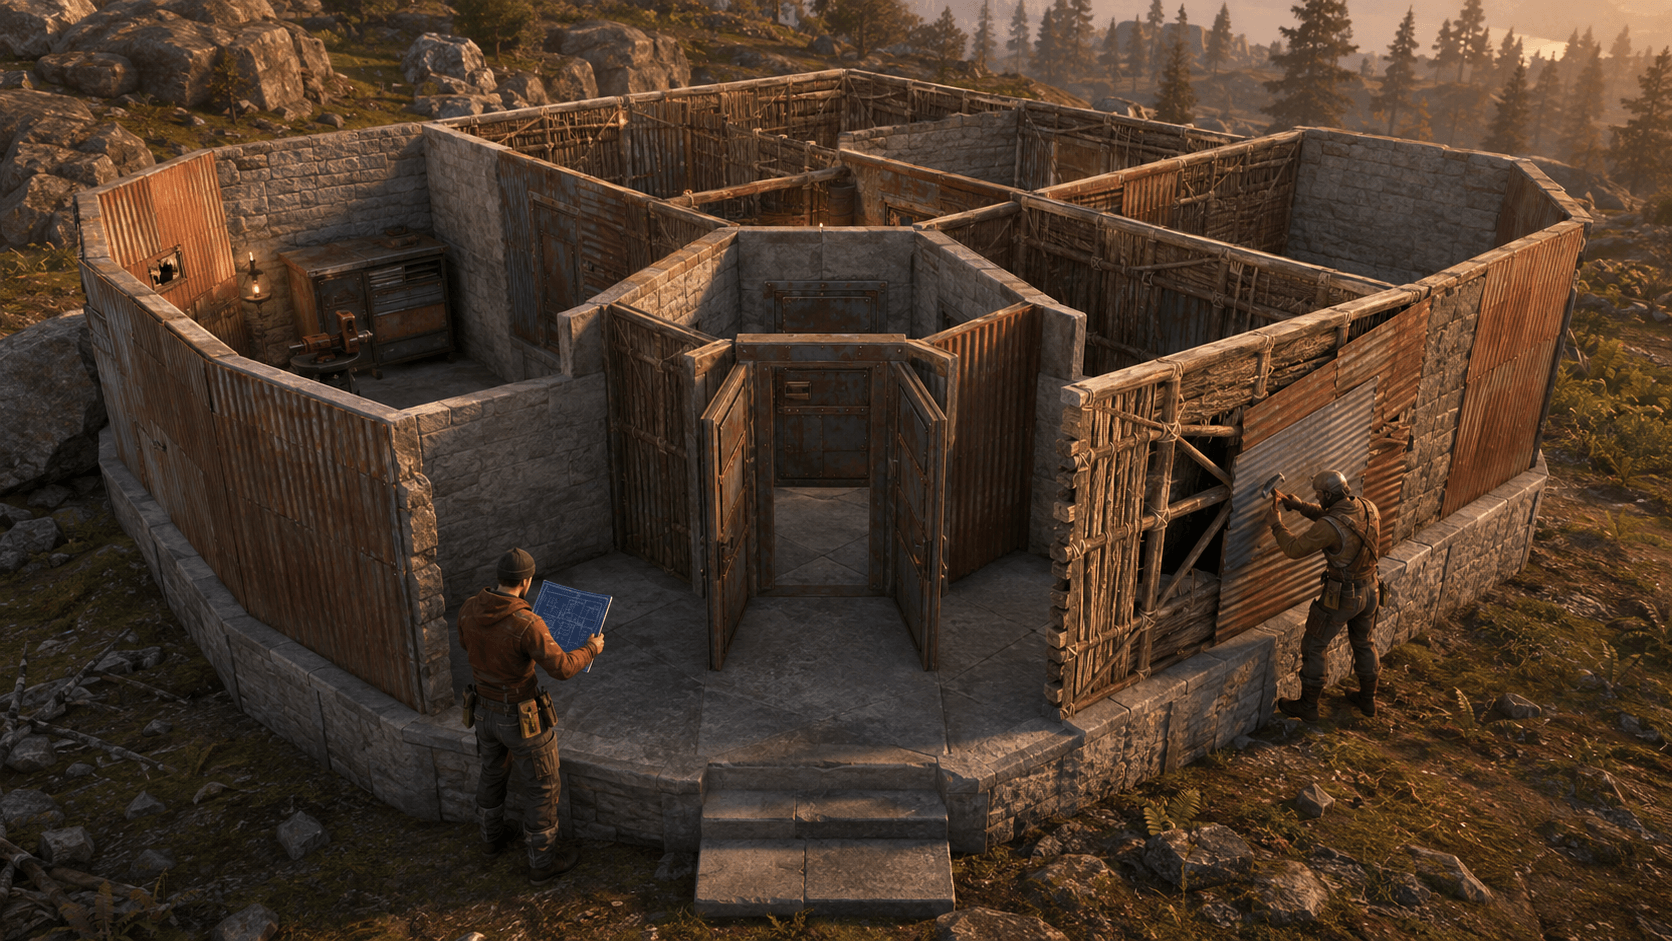
Place control blocks on an internal wall where they can be accessed with a tool but cannot be reached through a window or broken outer layer. Leave space between items: overly dense mounting complicates selecting the right connector. It is better to distribute batteries and expensive smart devices among different rooms.
You can run a wire through walls, but the logic should remain clear. Create separate vertical lines for the roof, living level, and defense. Before closing a new wall, take a photo or record the scheme. During a raid, this will quickly show which section lost input and allow restoring it without complete dismantling.
Do not install a wind turbine on a weak temporary tower. Check stability, repair access, and roof expansion possibilities. Panels also need protection, but a high solid wall may shade them. Place sources so that damaging one does not destroy the other with the same explosion.

Finding Faults
- Check the actual source output and battery charge.
- Compare the battery's maximum output with the total consumption.
- Go through the circuit from the source and check the value at each input and output.
- Temporarily disconnect secondary devices.
- Check branch, sensor, timer, and authorization filter settings.
- Replace a complex logical section with a direct wire and find the fault location.
Change only one element at a time. If you simultaneously rearrange the battery, branch, and sensor, it will be unclear what exactly solved the problem. After repair, simulate night, empty battery, and main source loss. This check reveals weak points before a real attack.
Ready Configurations
| Base | Source | Main Consumers |
|---|---|---|
| Starter | 1–2 panels and battery | Several lights, sensor |
| Medium | Panels or turbine, large battery | Light, doors, alarm |
| Protected | Turbine plus backup | Several turrets and alarms |
| Industrial | Stable generation and backup | Furnaces, conveyors, crafters |
Always check precise values in the interface of the installed item: Rust's balance changes with updates, and modified project servers may have their settings. Before a global wipe, check the calendar and decide in advance which scheme your team really needs.
Conclusion
A reliable electrical network starts not with dozens of logic blocks but with the right balance. Calculate consumers, ensure stable charging, hide the battery, and test the disconnection of each section. When the basic circuit runs for a day without intervention, add sensors, reserves, and industrial automation.
Keep the scheme as simple as the task allows. In Rust, the best system is the one the owner can fix in a minute during a raid, not the one that looks beautiful only with a full charge and open walls. Before leaving the server, check the charge, fuel supply, and manual switch positions in the base. Leave a wire tool and a few inexpensive components in the base. After each update, run a short test: generation, night work, alarm, and main line disconnection. It takes a few minutes but prevents defense loss due to old settings.

Latest comments