Building a base in Rust: cupboard, gate, and defense
Base building in Rust starts not with a beautiful design, but with a secure core: foundation, correct wall sides, airlock, tool cupboard, door, and resources for upkeep. A good base can be expanded without complete demolition, quickly sealed off after death, and defended from multiple points. This guide explains the basic mechanics and development order.
Choosing a Base Location
Look for a balance of resources, roads, monuments, and safety. Living near a rich monument speeds up progress but attracts experienced groups. A hidden valley reduces random traffic but increases farming time. Scout the area without a full inventory and listen for gunshots.
Check the terrain and space for expansion. A rock may cover one side but provide the enemy with convenient height advantage. Avoid placing the foundation in water or on a steep slope without testing future floors. Mark two routes home and a spot for an external sleeping bag.
Materials for Construction
Minimum set: building plan, hammer, wood for frame, stone for upgrading, door, lock, and tool cupboard. Take a sleeping bag separately. Don't carry all resources at once: first place a small closed core, then return for resources.
The building plan and hammer are crafted without a workbench. The hammer upgrades building materials, opens options with the right mouse button, and allows picking up available placed items. Keep it in a quick slot during expansion.
2×1 or 2×2 Starter
A 2×1 base consists of two squares and a triangular airlock. It closes quickly and is suitable for solo play, but has limited space inside. 2×2 is more convenient for a team, offers several room division options, but is more expensive to maintain and more noticeable after a wipe.
Don't build a huge twig foundation. The enemy can easily break twigs and use them as a ladder. Upgrade immediately as you place: foundation, walls, ceiling, door frame. Prioritize security first, then interior.
Correct Wall Sides
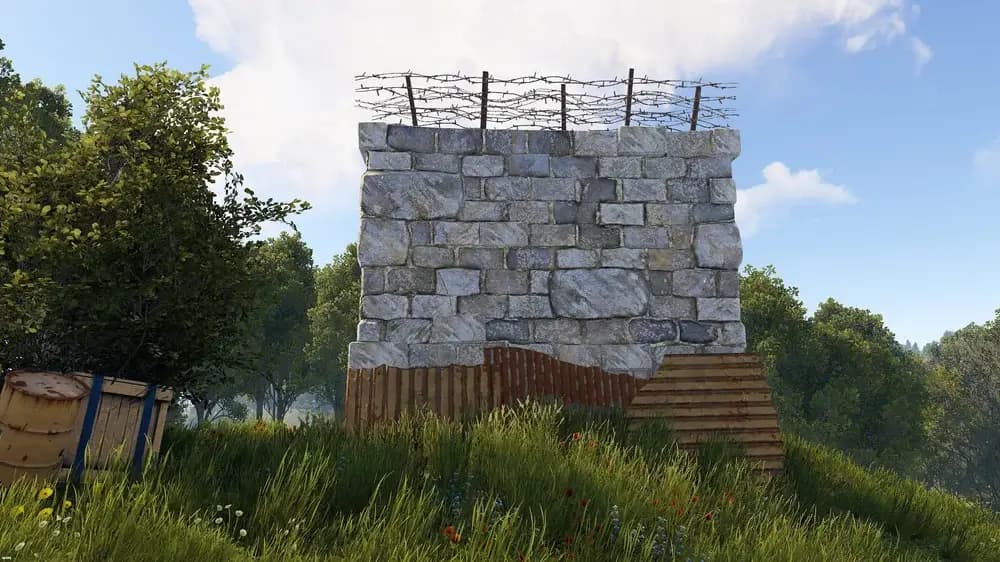
Building elements have soft and hard sides. The soft side should face inward, the hard side outward. Mistakes significantly facilitate wall destruction with tools. On stone, the inner surface looks smoother, the outer rougher; metal texture also differs.
Shortly after installation, you can rotate the wall with a hammer. Don't postpone checking until the end. Walk around the base before closing the ceiling and fix each element. After the time expires, the erroneous wall will have to be dismantled by an allowed method or destroyed.
Airlock
An airlock consists of two doors and a small space that prevents enemies from breaking straight into the main room. In a simple triangular variant, orient the door leaves so that the open inner door blocks the passage. Check the direction before installing locks.
Don't store the best loot in the airlock. Keep a cheap set, repair resources, and an overview of the exit there. If you are being chased, don't open the second door until the first one is closed. For a large base, create multiple divided barriers, not one long straight corridor.
Key and Code Locks
A key lock is convenient for solo play: the owner doesn't need to carry a physical key for regular access. A team benefits from a code lock because each member enters the code once. Don't share the main code with new acquaintances.
Separate codes for external and internal doors. Change access after a member leaves. A locked tool cupboard and internal doors slow down capture even after the entrance is breached. How to safely assemble a team is described in the guide on meeting friends in Rust.
Tool Cupboard: Main Base Device
The cupboard, or TC, grants building privilege, stores upkeep resources, and costs 1000 wood. The placing player is automatically authorized, while teammates must approach and choose authorization. Lock the cupboard and place it deeper inside the entrance.
Privilege is determined by connected foundations, not a simple circle around the cupboard point. An unconnected structure requires its own TC. Check the green Building Privilege indicator around the perimeter.
Upkeep and Decay
The cupboard shows the base cost for 24 hours and protection time. Walls, foundation, ceilings, doors, and window elements add costs of corresponding materials. A large number of sleeping bags and regular placed items alone do not create the same building upkeep.
If one resource runs out, elements made of that material will decay. External exposed parts start decaying before the core. Check the supply after each expansion and before logging out of the game. Don't rely on the price from an old screenshot: the TC interface shows the current cost of your project.
Upgrade Levels
| Level | When to Use | Main Risk |
|---|---|---|
| Twig | initial installation | easily destroyable |
| Wood | only in the first minutes | fire and quick raid |
| Stone | base of the starting base | soft side and tools |
| Metal | core and floors protection | expensive upkeep |
| Armored | TC and main loot | high HQM cost |
Don't upgrade the external shell more than the single door. Protection should be balanced: a raider will choose the cheapest route.
Doors and Door Frames
Replace the wooden door with a sheet metal one as soon as possible. The garage door is convenient inside large spaces and creates a strong barrier, while the armored door protects key passages. Each has a cost, opening speed, and blueprint requirements.
Avoid a straight line of doors through which the cupboard is visible. Rotate the route, create rooms, and use different types of passages. However, too many doors increase costs, slow down owners, and create traps during evacuation.
Ceiling, Roof, and Stability
Each building element transfers stability to the foundation. Long consoles and improper support may not install or collapse after removing the lower part. Monitor the Stability indicator with a hammer and don't build an important room at the maximum value.
Close the ceiling immediately. An open stone box from above is not a base. For the second floor, leave a stair or hatchway in advance, but don't create a direct shaft to loot.
Honeycombs and Multilayered Defense
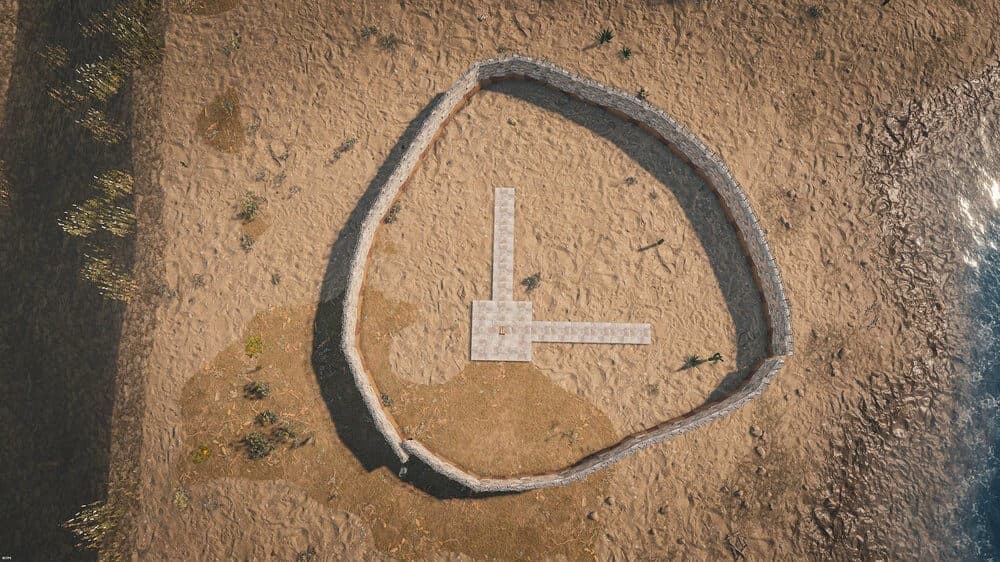
Honeycomb adds triangular or square layers around the core, increasing the cost of passing through walls. First protect the most valuable rooms, then expand evenly. A complete shell around an empty starter may cost more than the contents.
Honeycombs should be closed with ceilings and upgraded. An incomplete branch cell becomes a ladder. Evaluate the cheap path through doors and from above; the Rust raiding guide helps see the house through the eyes of an attacker.
Placement of Tool Cupboard and Main Loot
The TC should not stand at the first door or be visible from the corridor. Place it in the core, lock it, and leave space for access. Store building resources nearby, but distribute weapons and best components in different rooms.
If a raider destroys a locked cupboard with resources, there is limited protection against immediate decay, but it does not regain control of the house. Prepare a backup plan: external TCs, bags, and repair kits.
Internal Rooms and Crates
Divide storage by purpose: building, components, weapons, armor, food, and recovery. A ready kit near the bag saves minutes after death. Don't place all crates in a way that one explosive attack opens the entire storage.
The guide on Rust components recycling explains what to leave for crafting. Appearance matters after closing off the defense: first passages and contents, then decor.
Furnaces and Fire Safety
Place small furnaces so they can be used without blocking a door. A large furnace requires an external area or a special room and emits smoke and light, indicating activity. Don't leave a door open for ventilation — game safety is more important than realism.
Separate fuel and smelted metal. Regularly move the results to a secure core. An active furnace near a wall helps enemies understand when owners are online.
Electricity, Lights, and Turrets
Leave space for a battery, power source, and wiring in advance. A turret without proper power and authorization does not protect the house. Sensors and alarms should allow time to react, not just consume energy.
Power schemes are explained in the Rust electricity guide. Avoid dozens of unnecessary lamps: they increase visibility and may reduce client performance.
External Walls and Compound
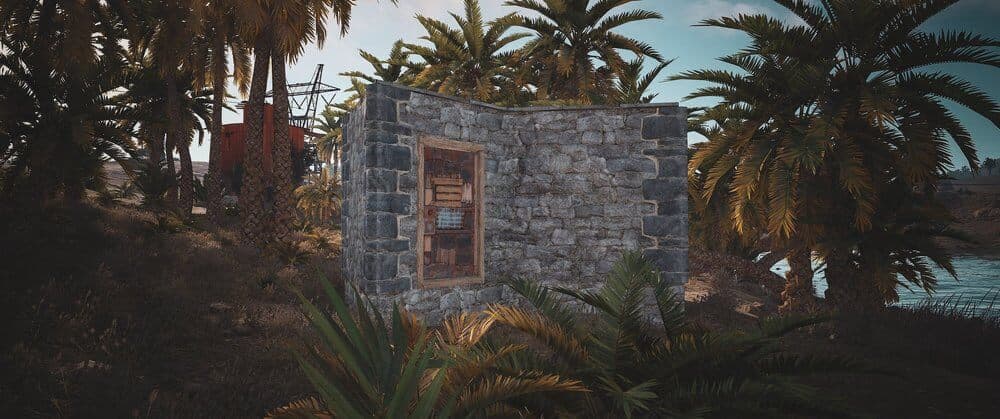
Tall external walls create a courtyard, protect furnaces and transport, but do not replace the main base. They should be within the building privilege zone, or they will start decaying. External TCs help cover construction at the perimeter.
Don't leave trees, rocks, or structures as a ready ladder over the wall. Gates should not lead directly to the main door in a straight line. Create an intermediate courtyard and observation from multiple sides.
Protection from Doorcamping
Set up an external sleeping bag, an observation window, or a safe observation point. Don't go out with the best gear after a single sound. Ask a teammate to check the roof or a remote corner, use another exit.
An airlock limits instant capture, but habits are more important. Close the door before sorting loot, don't stand in the doorway, and don't open multiple barriers simultaneously.
Continuous Base Expansion
First decide where the second floor, honeycombs, and new exits will appear. Expand in sections: place the foundation, close walls and ceiling, upgrade, then move on. An open construction site at night turns into a free entrance.
Monitor the TC after each stage. If the upkeep cost exceeds daily farming, the project is too large for the team. Improving tool efficiency is described in the Rust tools guide.
Solo and Team Bases
Solo play requires compactness, several hidden kits, and a short route from the bag to weapons. A team needs wide passages, distributed sleeping bags, clear codes, and storage areas. Don't copy a clan base for a single person.
Choose a defensive kit based on the task: a builder often carries resources but stays at the base. The Rust armor guide helps avoid overpaying for equipment on regular repair.
Checklist Before Logging Out
- all external walls are correctly oriented;
- twig is upgraded or removed;
- doors are closed, locks are installed;
- cupboard is locked and contains upkeep supply;
- the team has internal and external bags;
- loot is distributed, a ready recovery kit;
- furnaces and electricity are not left unattended.
See the first sequence from the shore to the closed house in the Rust beginner guide. A good base doesn't have to look huge — it should remain manageable, not have an obviously cheap route, and allow owners to quickly continue playing.
Practice Layout Before Wipe
Practice the starter on a test server: place a foundation, airlock, and cupboard, then walk the route with closed doors. Time the cost and time. If you constantly get stuck in doorways or can't place a crate, the layout is too tight for real urgency.
Destroy one external layer and assess what opens further. This test reveals direct lines to TC, weak roof, and useless honeycombs. Remember the upgrade sequence, but adapt the shape to the terrain and neighbors after each wipe.