


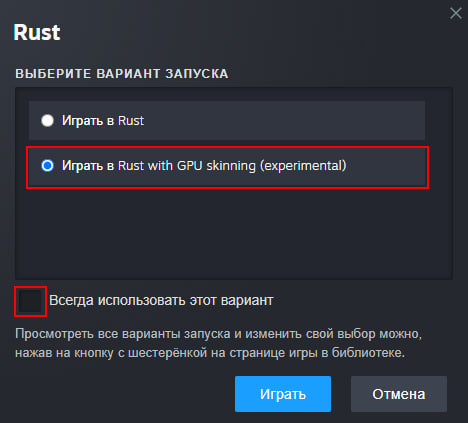
A guide to getting 15-40 FPS in Rust. Testing details.

RT Ziggurat Looting Guide
How to easily loot military tunnels in Rust..

A complete list of all events in Rust—from permanent events (Cargo, Patrol Helicopter, Oil Rig, Military Tunnels, Missile Silo, Arctic Base) to temporary ones (Kick Drops, Twitch Drops, Halloween, Christmas). With tables, links, dates, and timers.
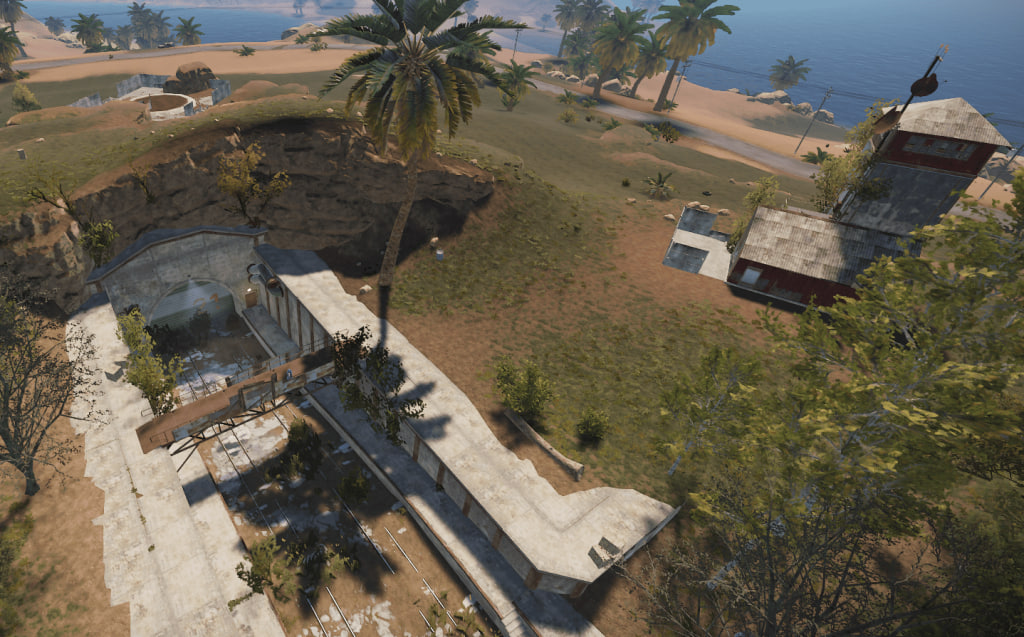
How to loot a small oil rig Rust...
Comments